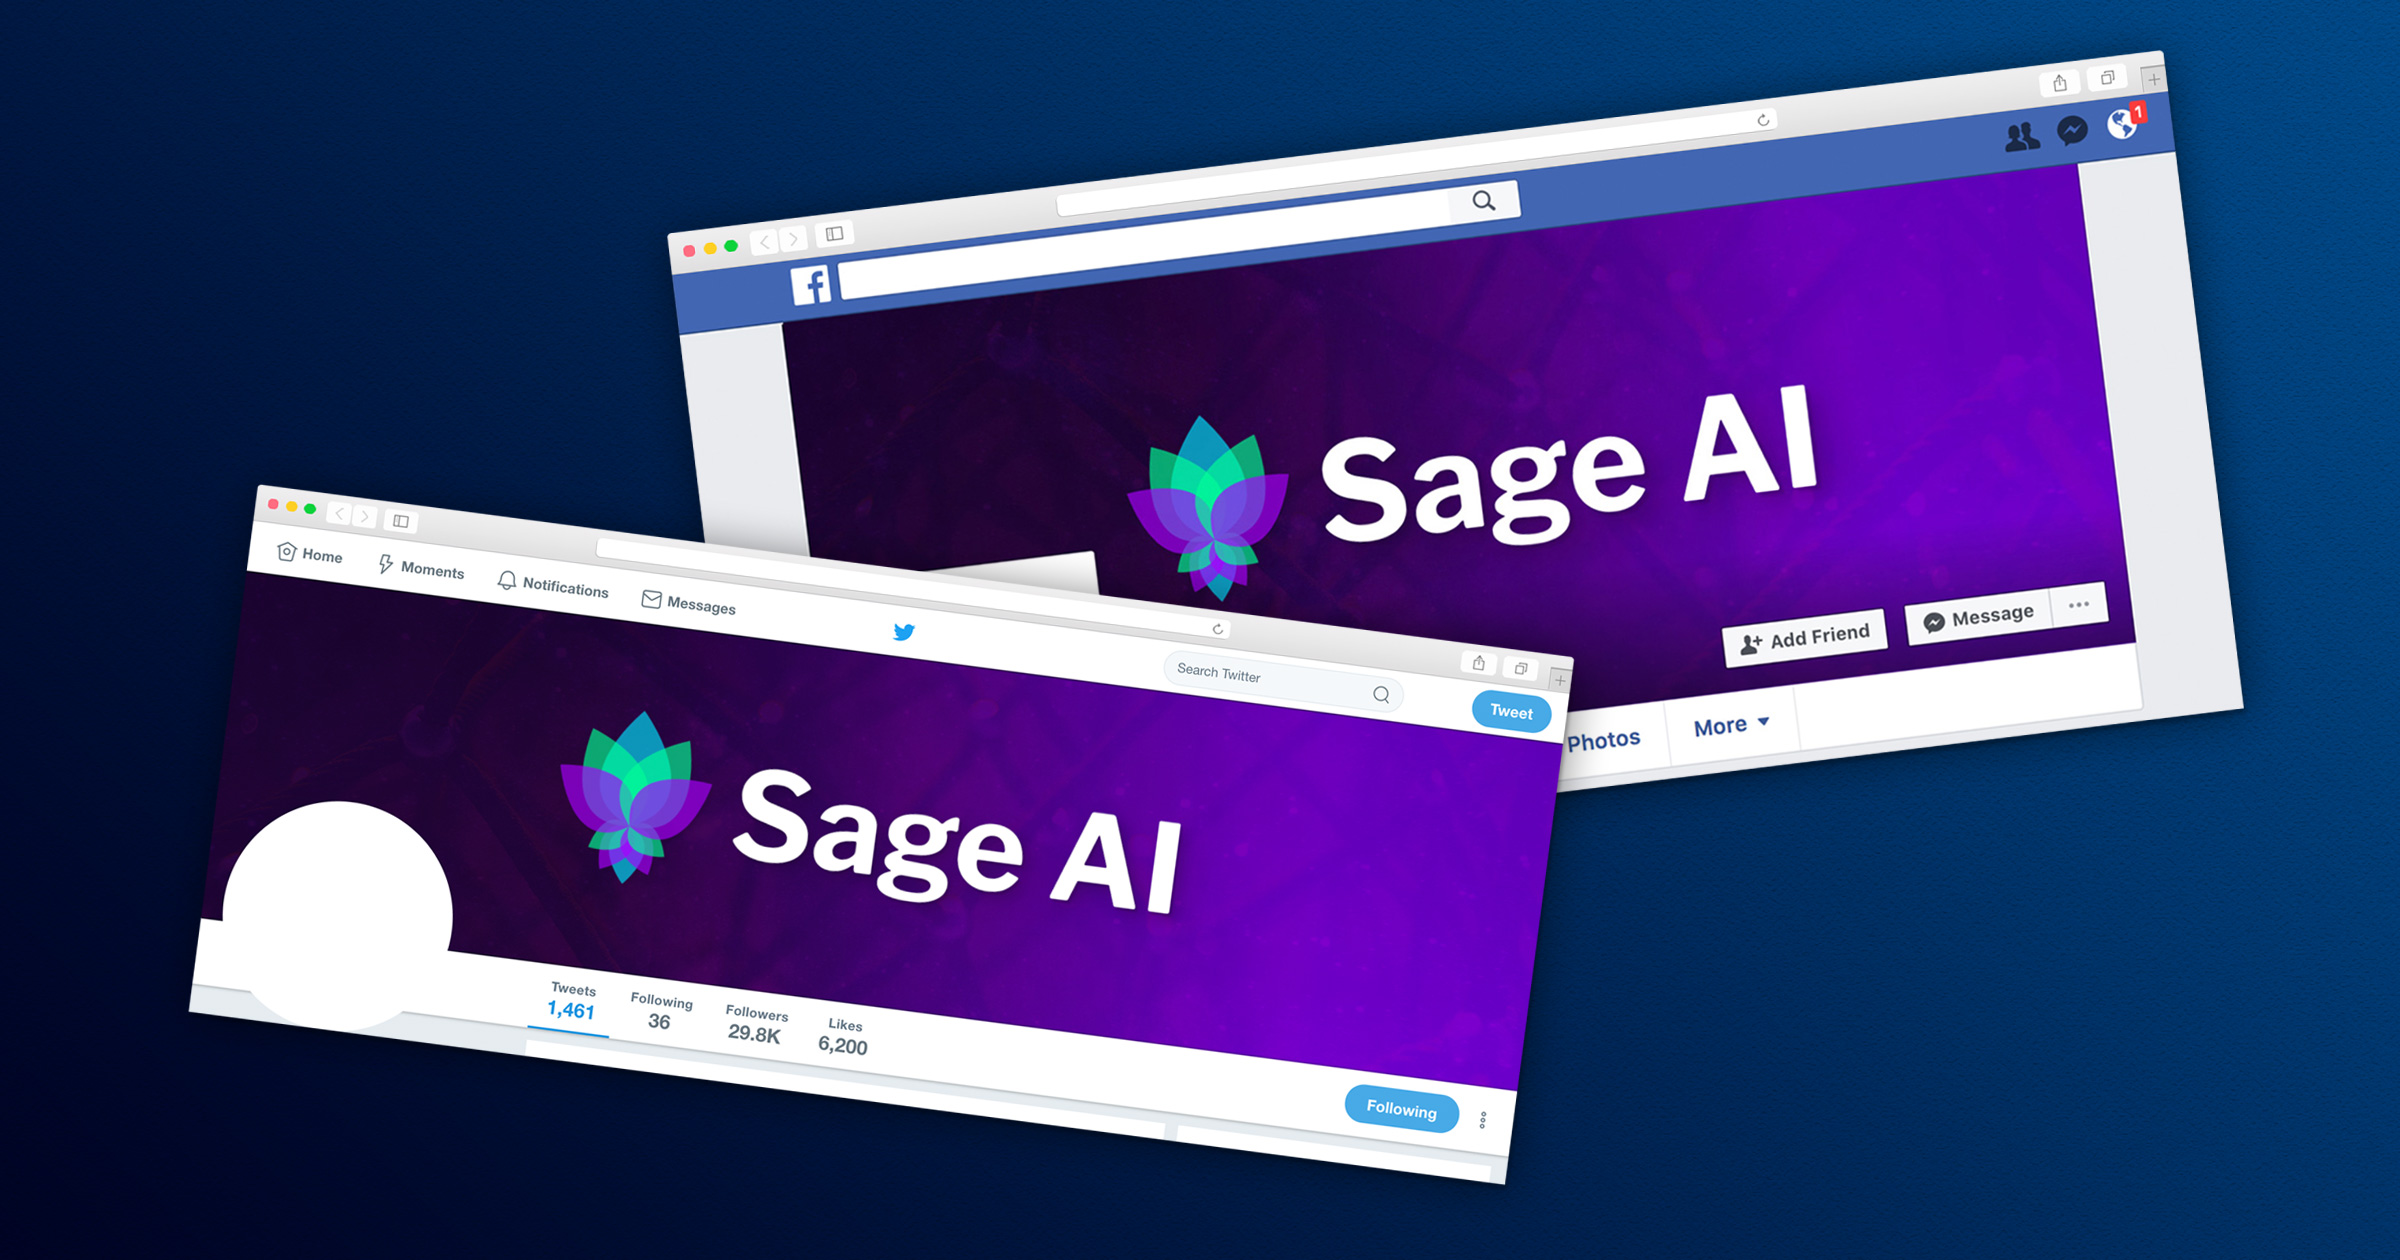
Creating High-Resolution Social Media Brand Images
Twitter and Facebook cover images are a great spot for additional branding opportunities, but by default, they highly compress your images. The qualifications for what image gets compressed and what doesn’t changes fairly frequently. These are the most up to date settings as of July 17th, 2018.
The specs provided by Facebook are as follows:
• Displays at 820 pixels wide by 312 pixels tall on your Page on computers and 640 pixels wide by 360 pixels tall on smartphones
• Must be at least 400 pixels wide and 150 pixels tall
• Loads fastest as an sRGB JPG file that's 851 pixels wide, 315 pixels tall and less than 100 kilobytes
• For profile pictures and cover photos with your logo or text, you may get a better result by using a PNG file.
The important parts of these specs are to export your image as an sRGB JPG and to keep it under 100 kilobytes. The 851 x 315 is a good starting place, but if you create your image at that size, you’ll find the result to be overly compressed once you upload. Especially on higher resolution monitors.
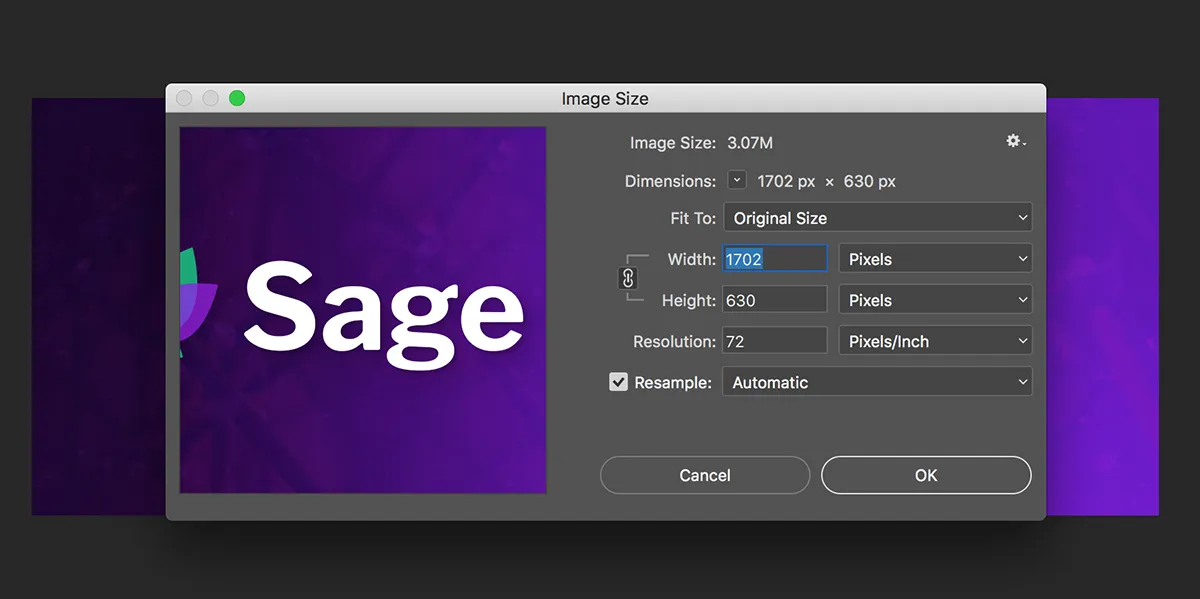
The way around this compression is to upload an image double the size, 1702 x 630 px. Here is a simple workflow I use for creating an image at those dimensions while still under 100K. I create these in Photoshop to leverage to the compression settings. Here are my document settings. Note the resolution is kept at 72 PPI to minimize the file size for the 100K limit.
Once I’ve created the image and I’m ready to export it, there are a few steps I take to get the file size as small as possible in Photoshop. It’s a good idea to save the file at this point, as the following steps are intended for an export and not a working file. First off I go to Layer > Flatten Image to combine all the visible layers into a single layer. This rasterizes any vectors and smart objects. So you have all assets at the size they are placed at on your document.
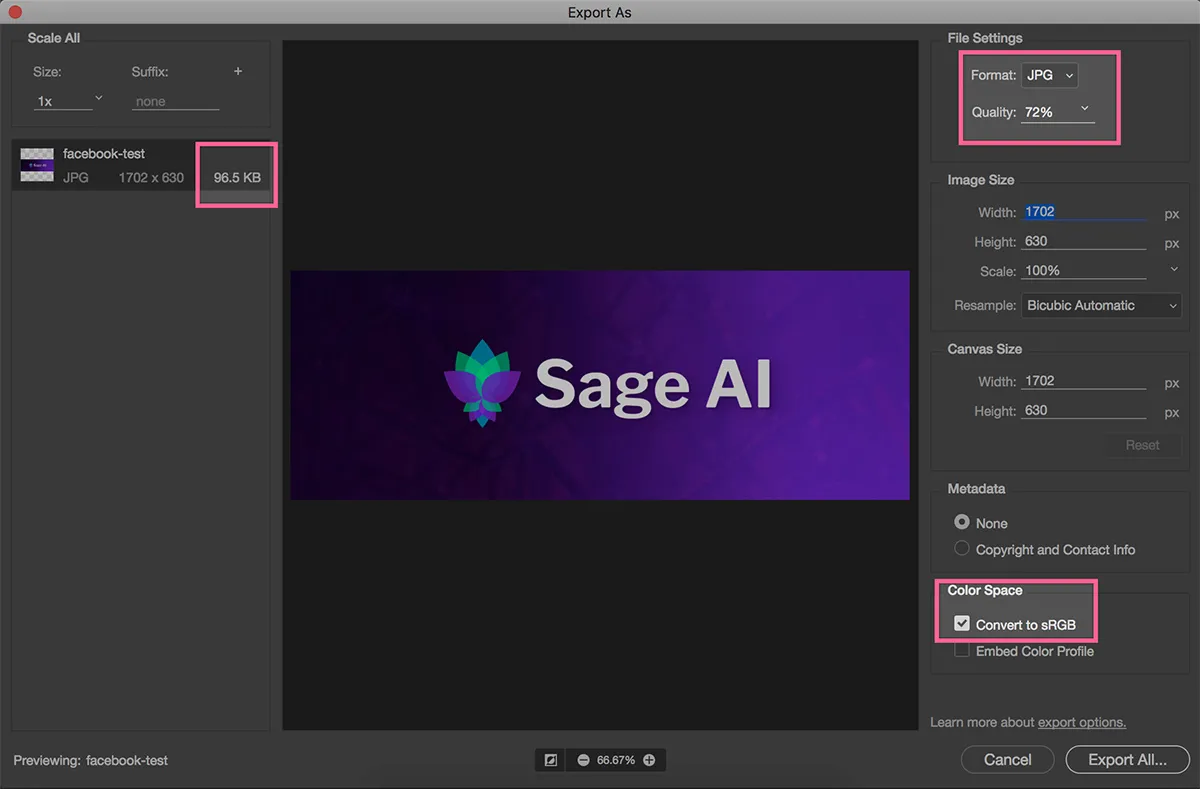
After flattening the image, I go to File > Export > Export As. In this settings screen that appears you’ll want to focus on 2 things. The first is to ensure you select sRGB in the Color Space area. Secondly, you’ll want to reduce the image quality until the exported image size on the left of the panel goes under 100KB. If you find you’re reducing the image to less than 60% quality, it’s a sign you may want to simplify the design as you’re probably giving up too much quality at that point.
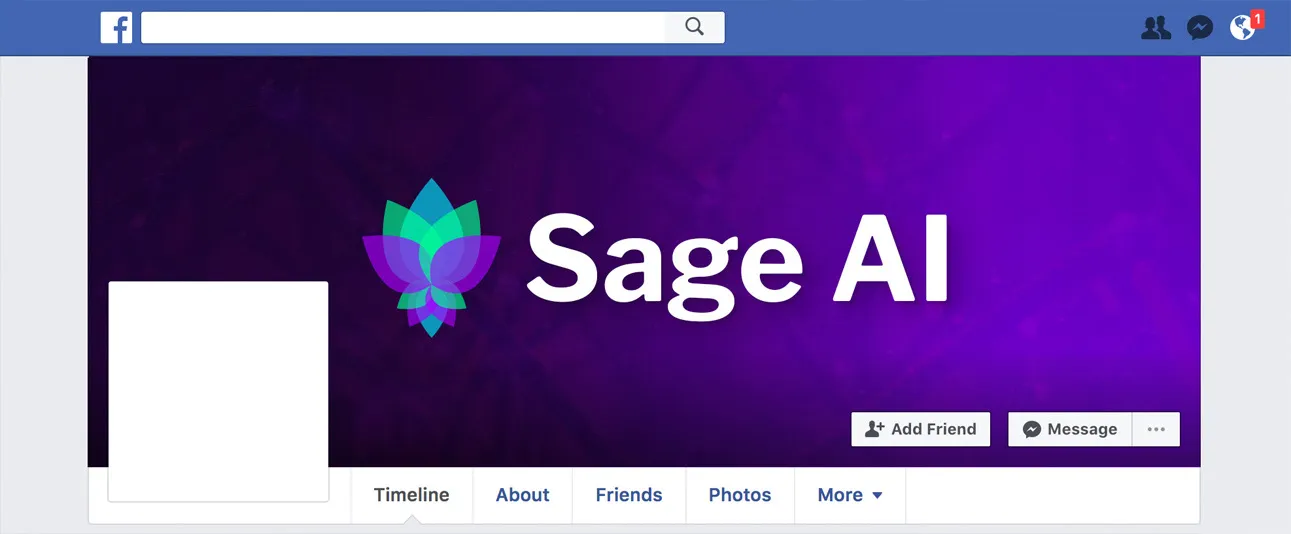
Now you’re all set to use this image as your Facebook cover image, and shouldn’t notice a huge loss of image quality when you upload. Since this same image is used across mobile and an array of screen sizes, it’s a safe bet to keep text or any important part of the imagery as centered as possible.
Header images for Twitter should be sized at 1500 x 500 px at 72PPI. It’s even more important to keep your content centered on Twitter because of how much the sizing of the header image changes based on device size. Twitter’s hero area is fluid, compared to the smaller max-width constraints of Facebook, so as the screen gets larger you’ll get clipping on the outer edges. Once you have your image ready the first step should be the same as Facebook one above and flatten your image.
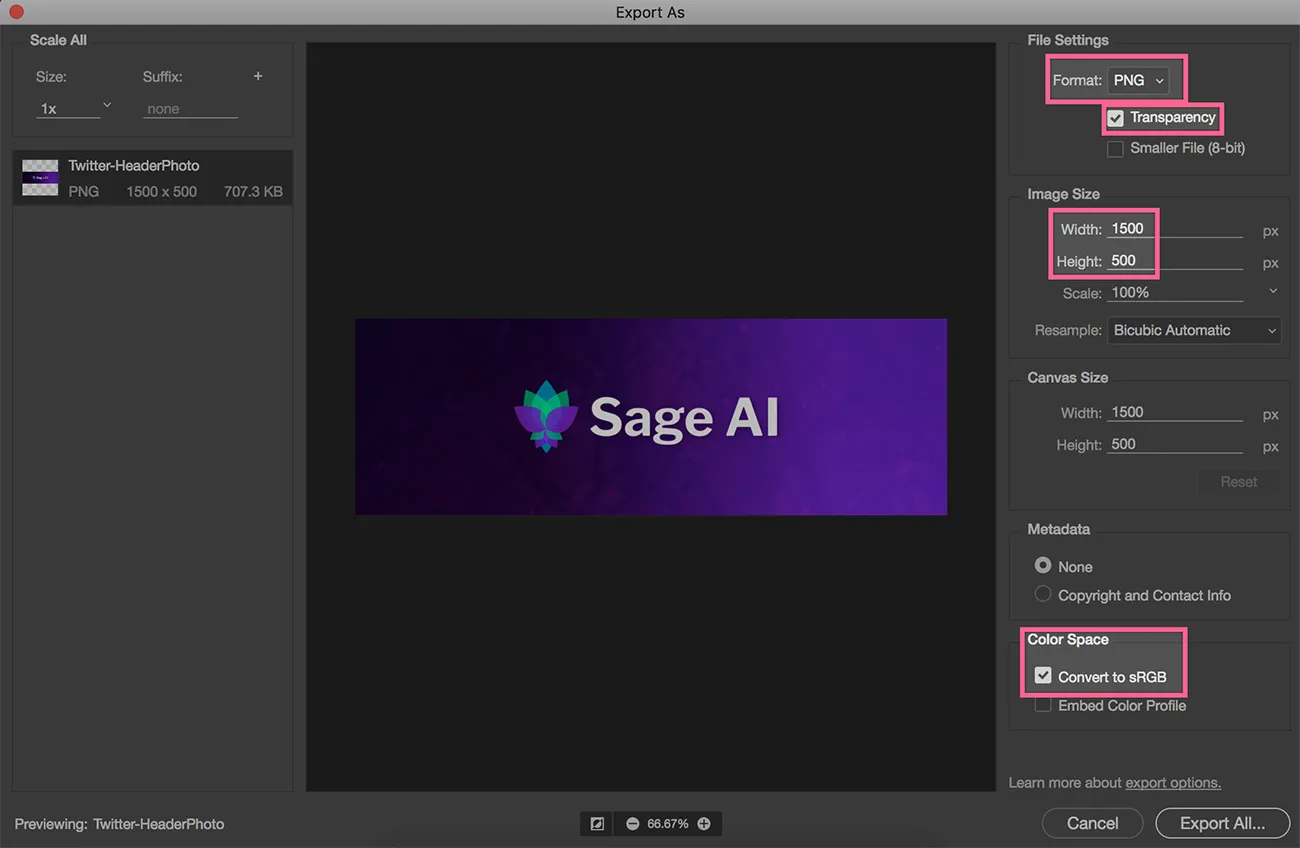
The way to avoid Twitter’s compression algorithm is to save as a PNG with transparency. But if your image doesn’t naturally include transparency, Twitter will still compress it even if it’s a PNG. This is the tricky part. The way to get around this is to select a single pixel on your document, usually at the very top as this will be cropped out on many displays, and make that pixel semi-transparent.
![]()
Once you have this you can go ahead and go to File > Export > Export As and select PNG from the format dropdown. Make sure Transparency is selected underneath that, to ensure Twitter doesn’t compress this image and respects the transparency pixel we added. And for good measure take a look at the image size to ensure it’s 1500 x 500 px.
Now you’re all set with Twitter and Facebook Profile images! The user images can be saved at the regular sizes in the specs, as no special compression happens to them. Same goes for LinkedIn as well, the guideline image sizes work fine as there is no compression to get around. I’m sure these guidelines will change shortly, but they seem to not optimize previously uploaded images, so best to get those high-res images up while you can!